Showing posts with label Sewing Projects. Show all posts

Wednesday, July 22, 2015

Fun Hoop Art!

I love decorating my home with homespun decorations and artwork. A cheap and easy way to spruce up any wall is with hoop art. The sky is the limit with what you can do with the inexpensive wooden embroidery hoops that you can pick up at any craft store. Above my bed I have started putting together a hoop art collage. 
On the ones I have hanging so far, I simply cut a square of fabric, placed it tightly into the embroidery hoop and then trimmed the excess fabric. I can't wait to add more hoops to this wall collage to make it a focal point of my room.
This hoop was made by centering up a quilt block I had made in a quilting class and trimming off the excess fabric. This will be a perfect addition to my bedroom wall collage!
To get started making your own hoop art. Pick up any size embroidery hoop and go through your stash of fabric scraps to find some coordinating prints.
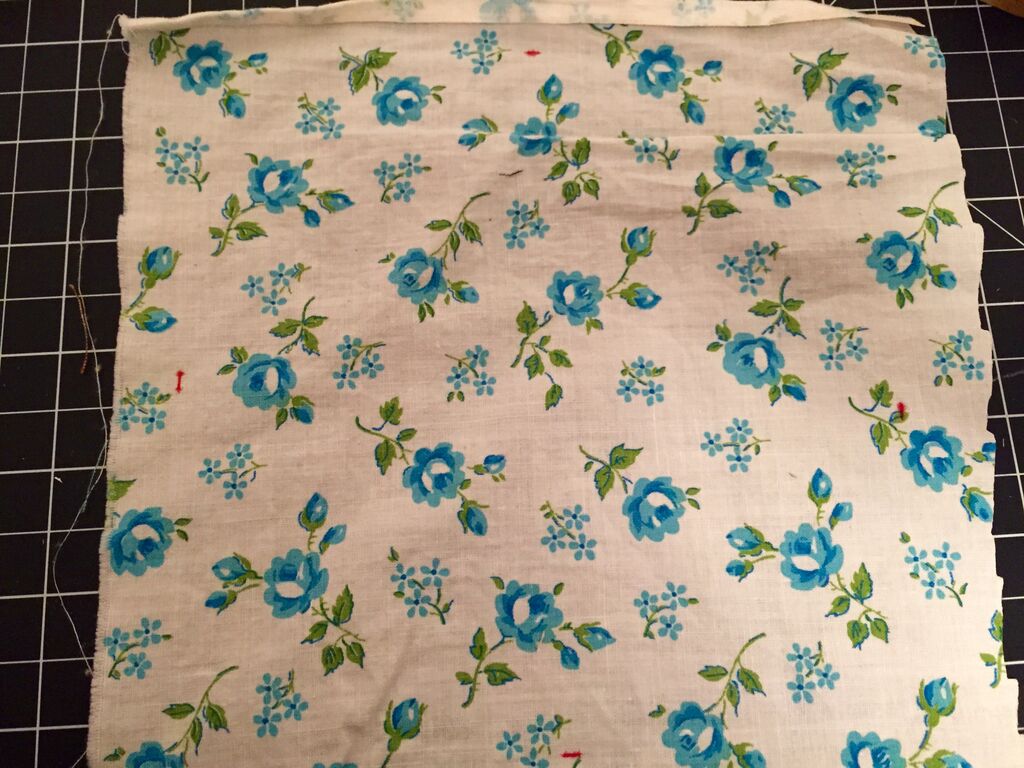
I laid the inner ring of the embroidery hoop on my background fabric and marked it on four sides with a red marker so I could better center my design on my fabric.
I cut a variety of scrap fabric I had on hand into bunting flags and strips and arranged them on the fabric to get them aligned.
Then I sewed down the bunting on my sewing machine to create the string of the bunting design.
Place your fabric in the hoop and tighten it up. Then flip it over and trim the excess fabric closely to the edge of the hoop.
I simply love the finished product. A simple, cheap and easy way to add a little homespun charm to your home. 

Laura


Saturday, July 11, 2015

Finishing Granny's Quilt

When my Granny passed away she left a legacy of talent in the family, one of which is my Aunt Linda who's creativity never ceases to amaze me. In a recent family get-together I noticed that my Aunt had a quilting loom set up in her living room where she was quilting by hand.
Currently I am taking a quilting class, so I am intrigued by any and all quilts. Not just for the colors and beauty of the quilt, but for the work and love that goes into each quilt that is made.
These quilt blocks are known as the tic-tac-toe pattern.
Here you see where Linda is actually doing the quilting. This is where you sew together the decorative top, followed by batting which adds the thickness to the quilt, and then a back fabric is added. This sandwich of fabric and batting is quilted together basically making one very warm blanket to curl up under once complete.
The white chalk lines you see are where she will sew her quilting stitches. This classic stitch is known as the fan quilting pattern.
In talking with my Aunt she told me that the topper for this quilt was actually sewn by my Granny (who has now passed away) and she was finishing it up by quilting it. I treasure every quilt ever made and given to me by my Granny. She made each with hard work and love which makes them more valuable than any other items I own. This beautiful quilt, however goes to my cousin Lisa.
My Aunt talked about how hand quilting can be very time consuming for one person, so I expressed the idea of starting a family quilting bee. Several of us gathered around stitching away and gossiping about all the family members who aren't there, what could be better?! I love my family time!
 
 
Kelli


Wednesday, June 24, 2015

DIY: Easy Turban Style Headbands

I have invested a small fortune in headbands to wear at the gym and on my four wheeling trips but every last one of them end up slipping off my head. I can never keep them on, even the ones advertised as non-slip! I thought I'd try making my own out of jersey knit fabric so I could customize it to my head size. After a little trial and error I finally came up with a headband that fits perfect and best of all no slippage!! It stays in place all day!

You can make your own too with these simple steps. First pick out some cute jersey knit fabric out of your stash or from your local fabric store. You can also upcycle t-shirts from your closet!
Next I cut 2 strips of fabric 5" wide by 21" long. This is the length that worked best for my head but you can always measure around your head to get a size better for you. Remember the jersey stretches so I cut mine a little smaller than my actual measurement. You can also play around with the width of the headband to make it wider or thinner to best suit your style.
Fold each strip length wise, right sides together and sew a straight stitch the entire length to create a tub. While sewing your straight stitch take your time and go slow because the jersey will shift on you and want your seam as straight as possible.
Turn the fabric tube so the right side of the fabric is facing out.
Next lay each strip of fabric, with the seam in the middle, in a plus (+) shape.
Fold the vertical strip over the horizonal strip until the ends meet.
Then fold the horizonal strip over so its ends meet. So both strips are interlocking.
Bring all 4 ends together and sew a straight stitch to close off your headband. 


Trim off any excess fabric and flip right side out! That's it, a super quick, super cute headband that's perfect for summer! With all the cute fabrics out today the possibilities as endless! We will have an Etsy Shop coming soon with a variation of this headband as well as many other homespun and redone creations! 
Laura